01
How to Restore a Retro Console Safely
Discharge, clean, recap, test — in that order, and the four things on a powered board never to touch.
GUIDE · 1300 WORDS
 How To: Gaming
THE HOW TO CO. — EDITION 10
How To: Gaming
THE HOW TO CO. — EDITION 10
Nothing on a thirty-year-old machine wears out from being played. What fails is time — a capacitor that has dried, a save battery that went flat in 2004, a laser that has quietly lost its power — and then the harder problem: the picture it was built to send has nowhere left to go.
SHELF 06 · CASE 02 · HARDWARE
Almost nothing on these machines is a wear part. The failures are chemical, and chemistry does not care whether the box has been played or sat in a loft since 1998.
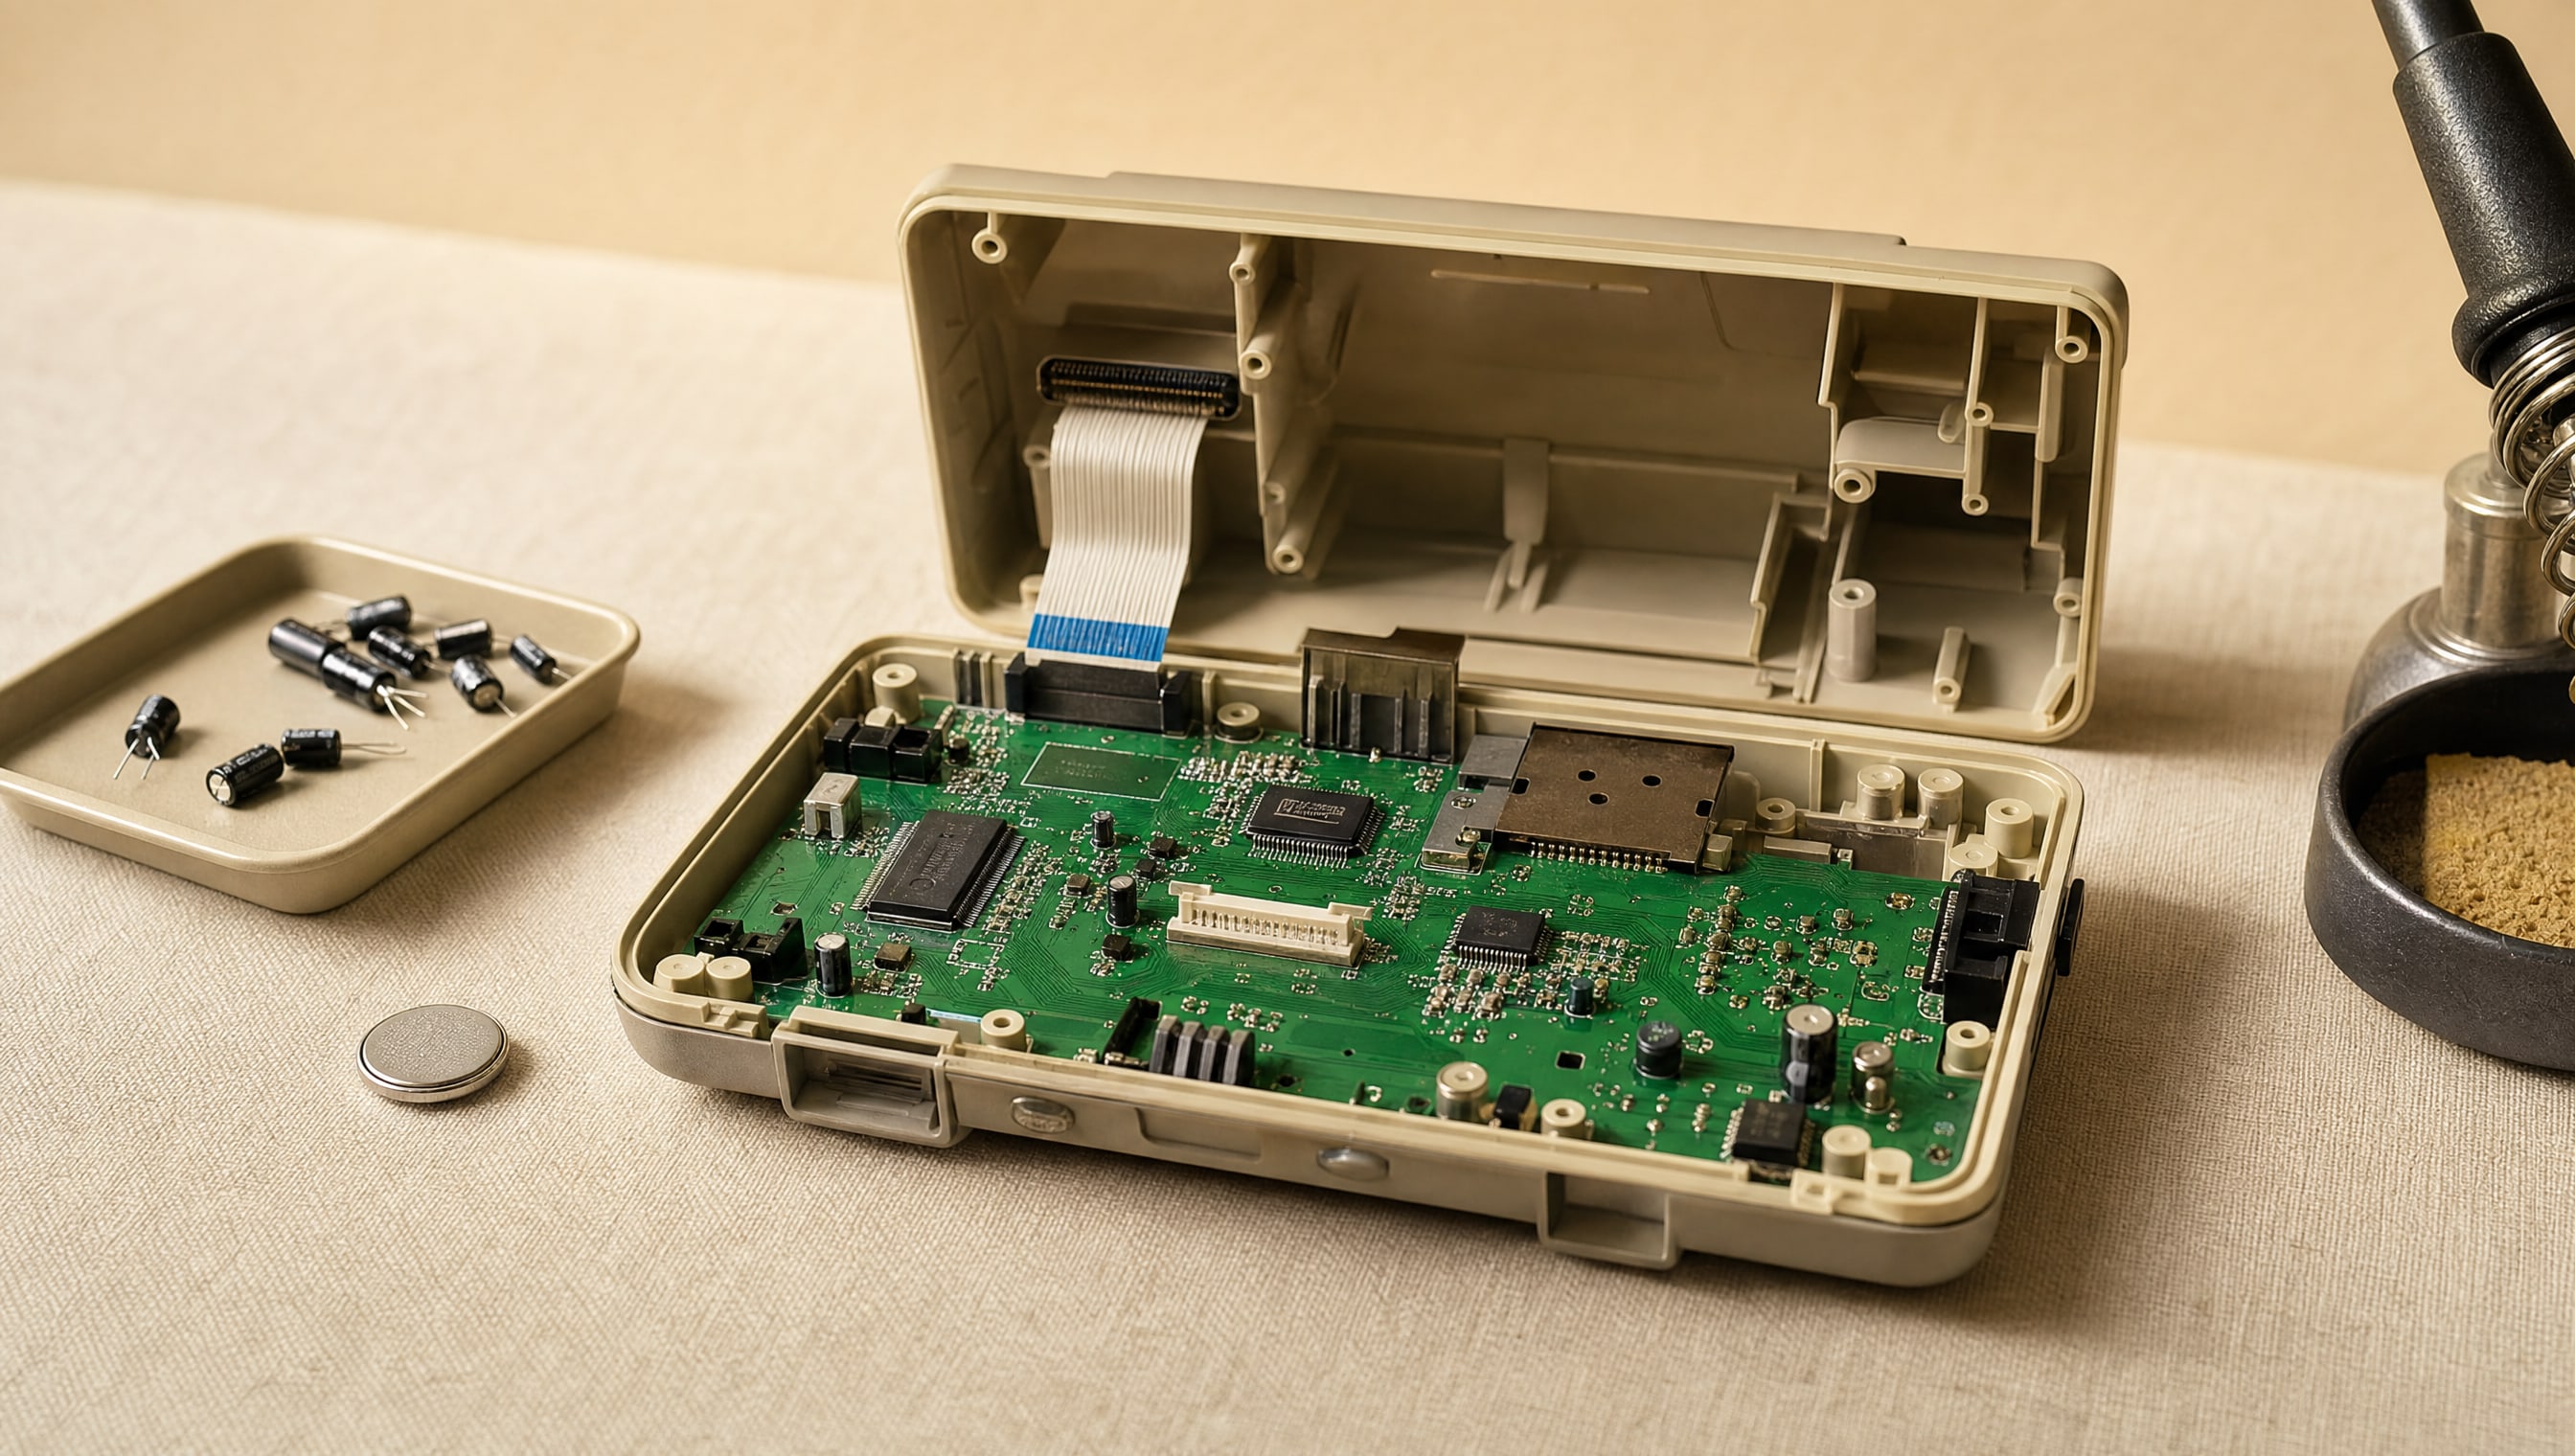
Start with the capacitors. Electrolytics are the one component fitted with a shelf life: the fluid inside dries or creeps out, and when it creeps it takes the copper under it with it. On a board built in 1990 that is a slow drift — muddy sound, a picture that rolls when the room is cold, a machine that needs three tries to boot. On the surface-mount electrolytics used in early-nineties handhelds and disc consoles it is not a drift at all. It is a leak, and left alone it eats traces you then have to rebuild by hand.
Then the batteries. Save data on cartridge-era hardware lives in volatile memory held up by a coin cell soldered to the board, rated for about ten years and now more than thirty into the job. Most are long dead. The ones that are not are the ones worth acting on first, because a cell that dies gracefully takes a save file with it, and a cell that dies badly leaks onto the board beside it.
Then the moving parts, which only the disc machines have. Laser diodes lose optical power with hours, not with age, so a heavily played drive reads a pressed disc and refuses a burned one long before it refuses everything. Belts perish into tar. Sled grease sets hard. All three are cheap; all three are the reason a working machine costs three times a dead one.
Which is the whole buying argument. Buy working. A tested unit with a clear photograph of a live picture on a screen is worth every pound over an untested one, because "untested" has meant the same thing in every listing since the internet began: nobody wanted to find out. Restore the machine you already own and have a reason to keep — that is where the hours are worth spending, and it is where a mistake costs you your own thing rather than a rare one.
Work in a fixed order on arrival, before you take anything apart. Look inside the battery compartments of the console and every controller; a leaked cell is the one fault that gets worse in a drawer. Power it with no media in and watch for a picture. Then media, then saves, then every port and every controller input including the sticks, which drift. Five minutes, and you know what you have bought.
And keep it reversible. A recap, a battery, a belt and a laser are maintenance — the machine ends up as it left the factory, only younger. Cutting a case, drilling a panel or lifting a chip to fit an output board is a decision about a finite object, and it should be made on the common revision you can replace, never on the one you would be sad to lose.
THE DETAIL
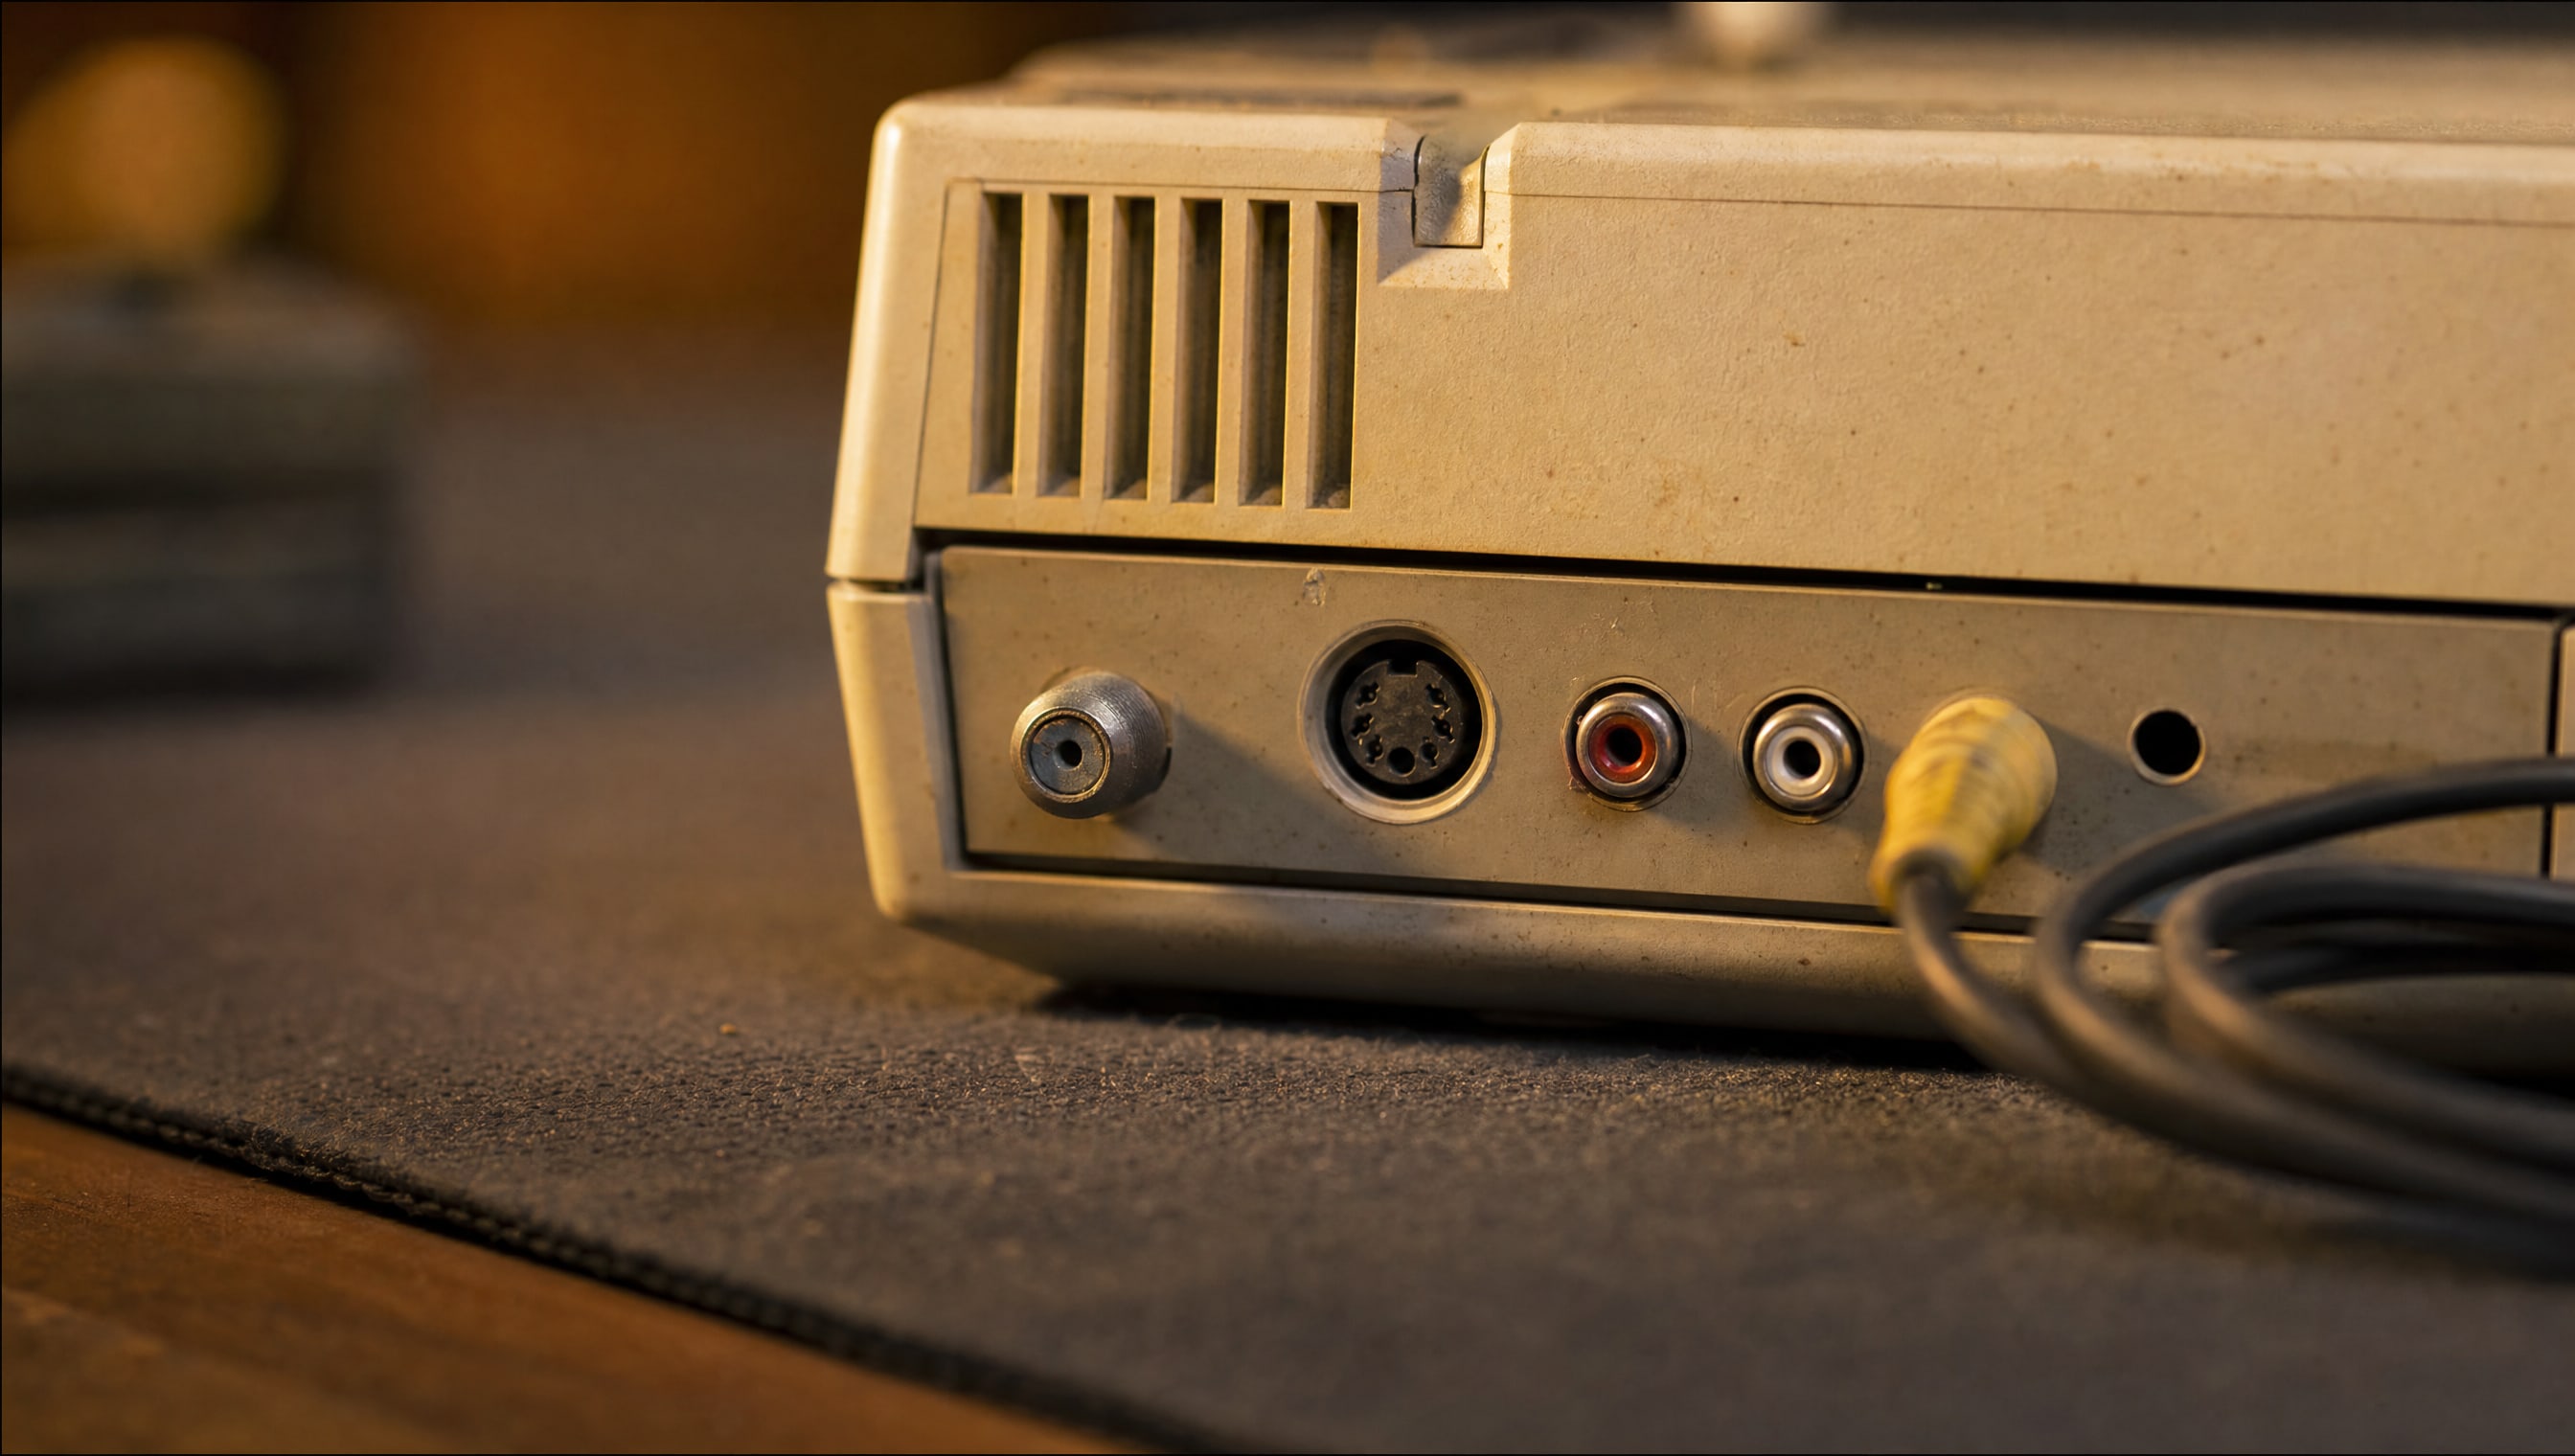
The front of a console is what you put on a shelf. The back is what decides whether you ever see it move — so this plate is drawn both ways at once: six invented shells in elevation at one scale, and directly under each, the same 115-millimetre window cut from its rear panel and enlarged three times. The window is identical on all six because it is a crop and says so; what is inside it is measured, every connector at its published size on the panel’s own millimetres, so the width the sockets run across — printed under each one — can be read straight across the row. The ladder measures the only thing those connectors do: how many separate signals the picture has been broken into by the time it leaves the machine. RF carries it modulated in with the sound; composite gives it one wire of its own; S-video splits brightness from colour; RGB and component give each part a wire. Digital sits above a break in the axis, because it is not one more step of the same measurement. The solid stem is the rung the cable in the box reached; the dashed strands above it are what the same machine already reaches on a better cable or an added board, drawn one strand per wire. The line that opens into three is not a flourish. It is the wire count, and on four of the six it was there on the day the machine was sold.
FROM THE CURATOR
For two years every console I owned was a box of somebody else’s good intentions — a lid taped shut, a note saying it needed a recap, a price that felt like a bargain. I finished one of them. Then I paid nearly double for a machine a seller had photographed running, on a screen, with a controller in shot, and I have played it every month since. The one project I did finish is the one I already owned and could not replace, and that is the only kind worth the bench.
BY POPPY — CLASS: CURATOR · THEPINKPIPER.GG
5 PIECES · IN THE ARCHIVE
The pieces commissioned for this case, carried over from the day this page opened and listed here until they are written. Nothing links yet — a label pointing at an empty case is worse than a label that says wait.
01
Discharge, clean, recap, test — in that order, and the four things on a powered board never to touch.
GUIDE · 1300 WORDS
02
The five-minute test on arrival, the photographs to ask a seller for, and what a listing means by "untested".
HOW-TO · 1000 WORDS
03
RGB, component and digital out: what is a cable swap, what is a board, and what can never be undone.
GUIDE · 1200 WORDS
04
Why the cell is soldered, how to keep the memory powered while it comes out, and when to accept the loss.
HOW-TO · 800 WORDS
05
Belts, sled grease and laser power — the three faults worth the surgery, and the one that means walk away.
HOW-TO · 900 WORDS
SHELF 06 / 07 · RETRO GAMES · CASE 02 / 03
Every chapter in this region is a bay on this wall. This one is 06, and you are at case 02 of 03 on it — Retro Consoles. Back to the wall to walk the rest.